
Have you used electrical tape for splicing or insulating wires? How long will that last until you need to come back and fix the electrical shorts, or worse, sparking and fires? Use a permanent solution, such as heat insulation, which forms a long-term solution that relies on a vacuum-tight seal rather than adhesives that will decay over time. When you need your wires, cables, and hoses to withstand the test of time, choose heat shrink from Cable Ties Plus to deliver a permanent solution for organization, splicing, waterproofing, and hundreds of other essential cable protection, wire insulation, and hose sealing applications.
How to Use Heat Shrink Tubing
Heat shrink is fairly simple, but you should exercise caution whenever heat is involved. Using the wrong heat source, cutting the tube to the incorrect length, or misjudging the inner diameter can result in poor results, leaving you at risk of electrical shorts or sparks.
Step 1: Choose the Right Size
Select the proper size of heat shrink tubing for your project. Shrink tubing is measured in multiple ways: The length of the spool, the expanded Internal Diameter (I.D.), and the recovered I.D. The expanded internal diameter refers to the internal diameter before shrinking. Ensure your shrink tape is wide enough to accommodate the cables and wires you protect. The recovered I.D. is the smallest size the wrap will shrink to, which may be too large a diameter for a secure fit after shrinking.
Step 2: Cut to Length
Remember to cut a length slightly longer than you think you need when cutting your shrink tape. Your shrink tape will also shrink lengthways, not just width-wise. You should include a buffer of around a quarter of an inch for maximum effectiveness.
Step 3: Place Shrink Tape
Slide the tubing over the object you want to cover. If you are using shrink tape for splicing purposes, center the tape at the splice with equal overlap on both sides.
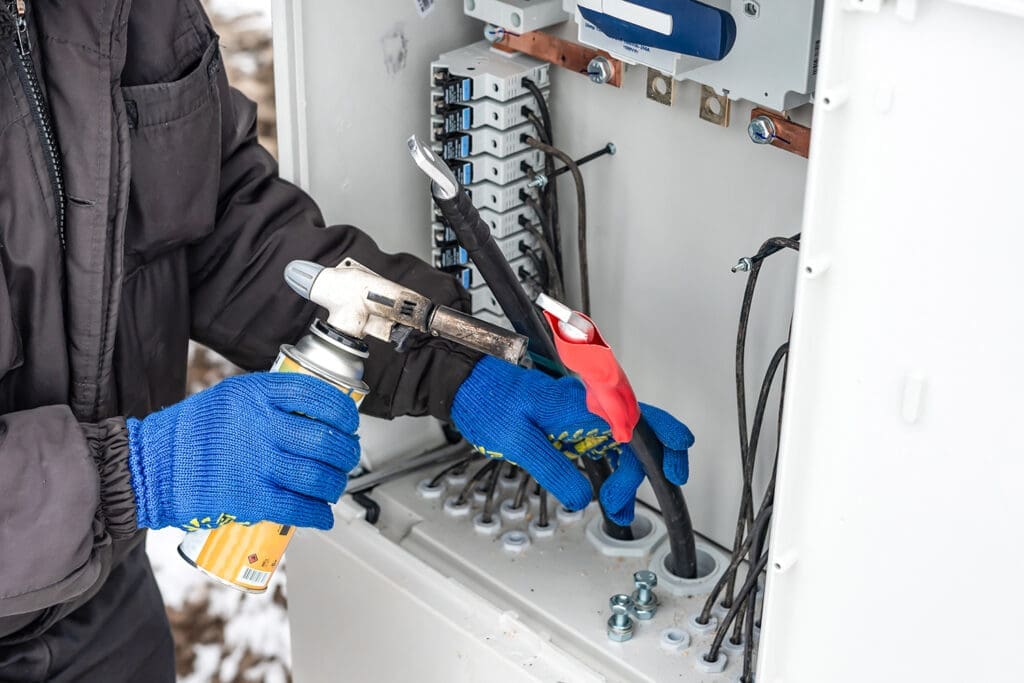
Step 4: Use an Appropriate Heat Source
Check the recommended heating temperature for your shrink tubing and use a heat gun or heat shrink oven to ensure even shrinking and the appropriate heat temperature. Using an open flame to shrink your heat tubing is not recommended – this may result in uneven shrinkage, physical damage, and even insulation failure.
Step 5: Heat
Begin shrinking at one end, slowly moving down the length of the tubing, and evenly rotating your project. Take care to avoid overheating during this process. Once you have heated the entire length of the tubing, allow the tubing to cool completely.
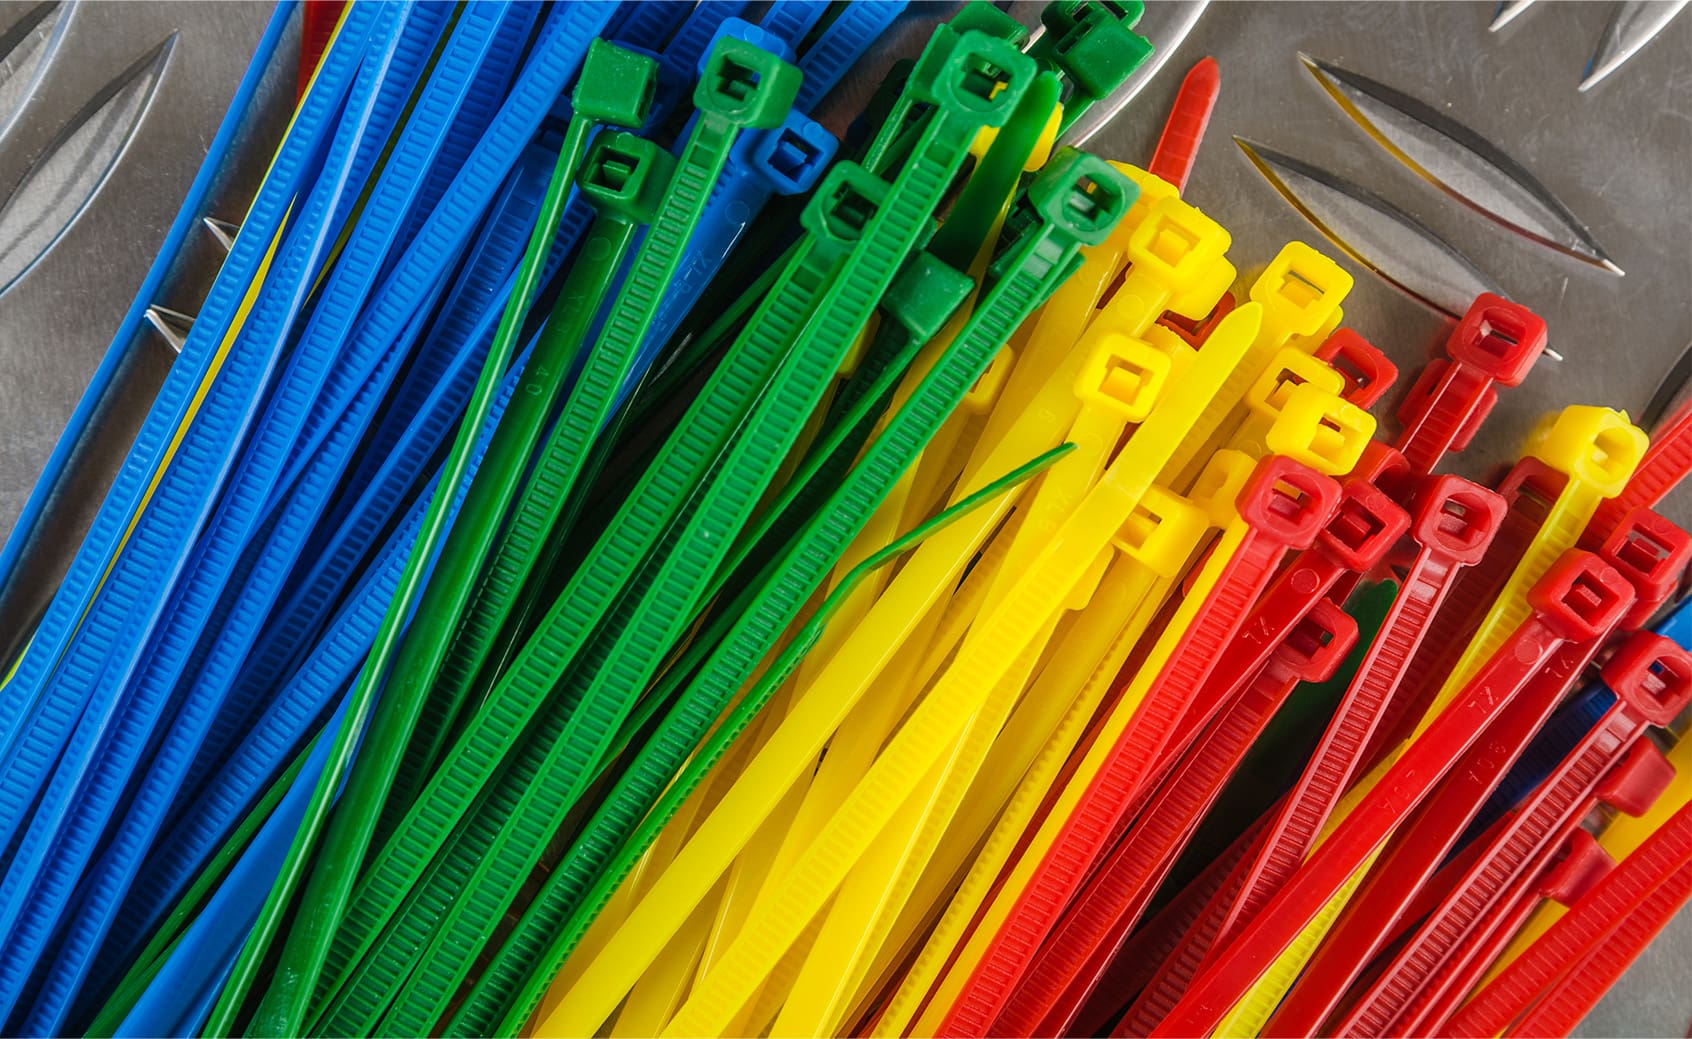
Common Applications of Shrink Tape
So, now that you are able to apply your shrink tape effectively and safely, what will you do with it? Even if you have a handful of projects you are already planning to use your shrink tubing for, there are many ways that this tool can be used:
Use For Protection
The primary purpose of this tool is to enhance the safety of your projects. Shrink tape helps prevent cable and wire dangers like sparks, electrocution, and fire. Shrink tape is waterproof and durable enough to avoid abrasions. Shrink tape protects you and your projects from damage and dangers.
Stay Organized
An important application of shrink tape is organization and cable management. Heat shrink tubing doesn’t just provide safety and organization benefits. It also allows you to color-coordinate your wiring, preventing messes and confusion.
Consider Creative Uses
Professionals recognize the value of shrink wrap in cable management and protection, but creative DIY enthusiasts know that simple shrink tubing can be utilized for more clever uses. Consider using shrink wrap across the workshop or home for:
- Charging Cable Reinforcement
- Shoelace Repair
- Pencil and Pen Grips
- Color-Coded Keys
- Improving Tool Grips
- Level Tools
- Stop Rattling Chains
- Stop Rope Fraying
Heat shrink is a versatile tool that can be applied to various work and hobbies, including electrical insulation, waterproofing, grip, and organizing equipment, such as cables, wires, tubes, and hoses.
Take It a Step Further with Custom Heat Shrink Tubing
Heat shrink helps insulate and protect, but it can also help you organize, label, and brand your work. With custom printing options, heat shrink tubing becomes a tool for identification and professionalism. Think about how useful it is to add serial numbers, part labels, or even a company logo directly onto the tubing. There are no stickers and no fading. Just permanent, clean-looking text that lasts.
At Cable Ties Plus, custom heat shrink printing is quick, easy, and packed with options. You can choose from a wide selection of tubing types and sizes, dozens of color options, and even decide how we lay out your text. Choose from horizontal or vertical, single or double-sided. Whether you need a one-line label or a detailed logo, our high-precision stamping process delivers crisp, durable results.
From flexible to adhesive-lined polyolefin, your tubing’s temperature requirements will vary, but applying it is still simple—just use a heat gun or shrink oven to activate the tubing and lock your message in place. And if you are working on a tight timeline, we can help! Send us your design, and we can turn around a sample on the same day.
Insulate and Organize with Heat Shrink from Cable Ties Plus
Are you struggling with cable management? Worried that your splice job might cause shorts? Need a long-term cable management tool? Heat shrink insulation is a critical tool for workshops and professionals of all kinds, regardless of the type of wires, cables, and hoses being worked with.
Your electronics will be better protected with high-quality, heavy-duty heat shrink from Cable Ties Plus, which holds and safeguards them. Explore our heat shrink insulation options inventory and stay prepared with this essential tool.